J29Ö Tunnan recce conversion
J29Ö Tunnan recce conversion
Bevaka artikel
-
 Betala säkert i vår webshop!
Beskrivning
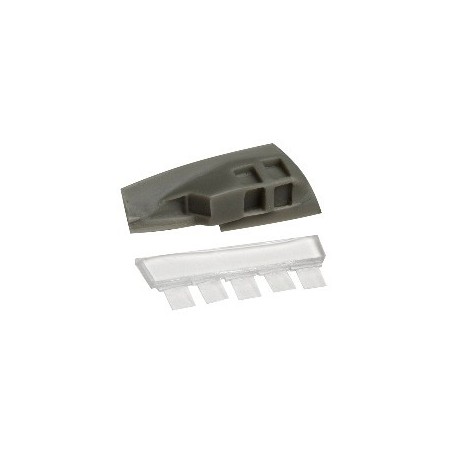
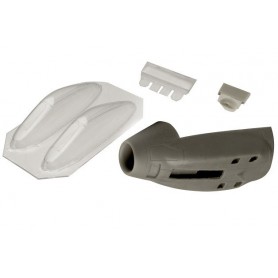
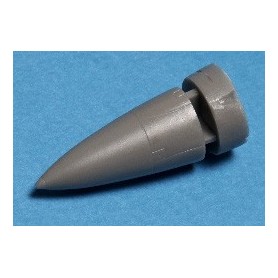
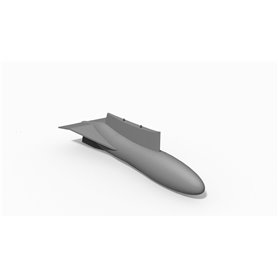
J29Ö Tunnan recce conversion.
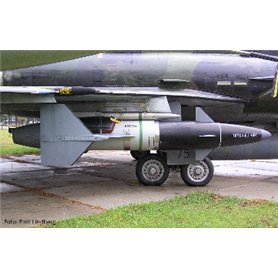
30 aircraft of the type SAAB J29F Tunnans were sold to Austria in 1961 where they remained in service until 1972. Some of them were equipped with a locally constructed recce camera casette that replaced the left nose cannon bay.
Model kits:
The only J29F Tunnan model kit ever made is the old Matchbox kit. It requires a lot of attention due to its deep panel lines etc. One could make an engine conversion by cutting the engine section from Matchbox and fitting it to the Heller kit. Depending on the degree of exactness required by the modeller, the difference in the tail section between an Heller E and and a F is not that big and will surely be accepted by a majority of builders.
Instructions (Heller):
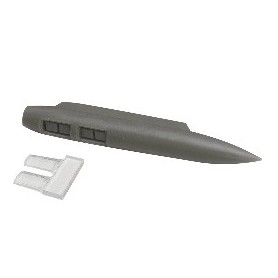
Assemble the Heller kit fuselage as per their instructions. Select Heller part number 11, the fighter nose, and make an opening in the left side of it to accomodate our resin part. Trim the sub-assembly to a good fit, checking also against the main fuselage assembly.
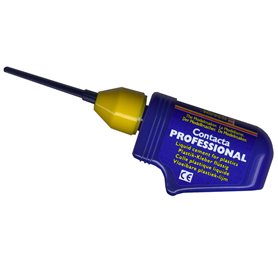
Cement the clear resin windows in their corresponding openings. Avoid cyano glue as it may fog the clear parts. See image 3.
Specifikation
- Skala
- 1:72
Relaterade produkter
16 andra produkter i samma kategori:

